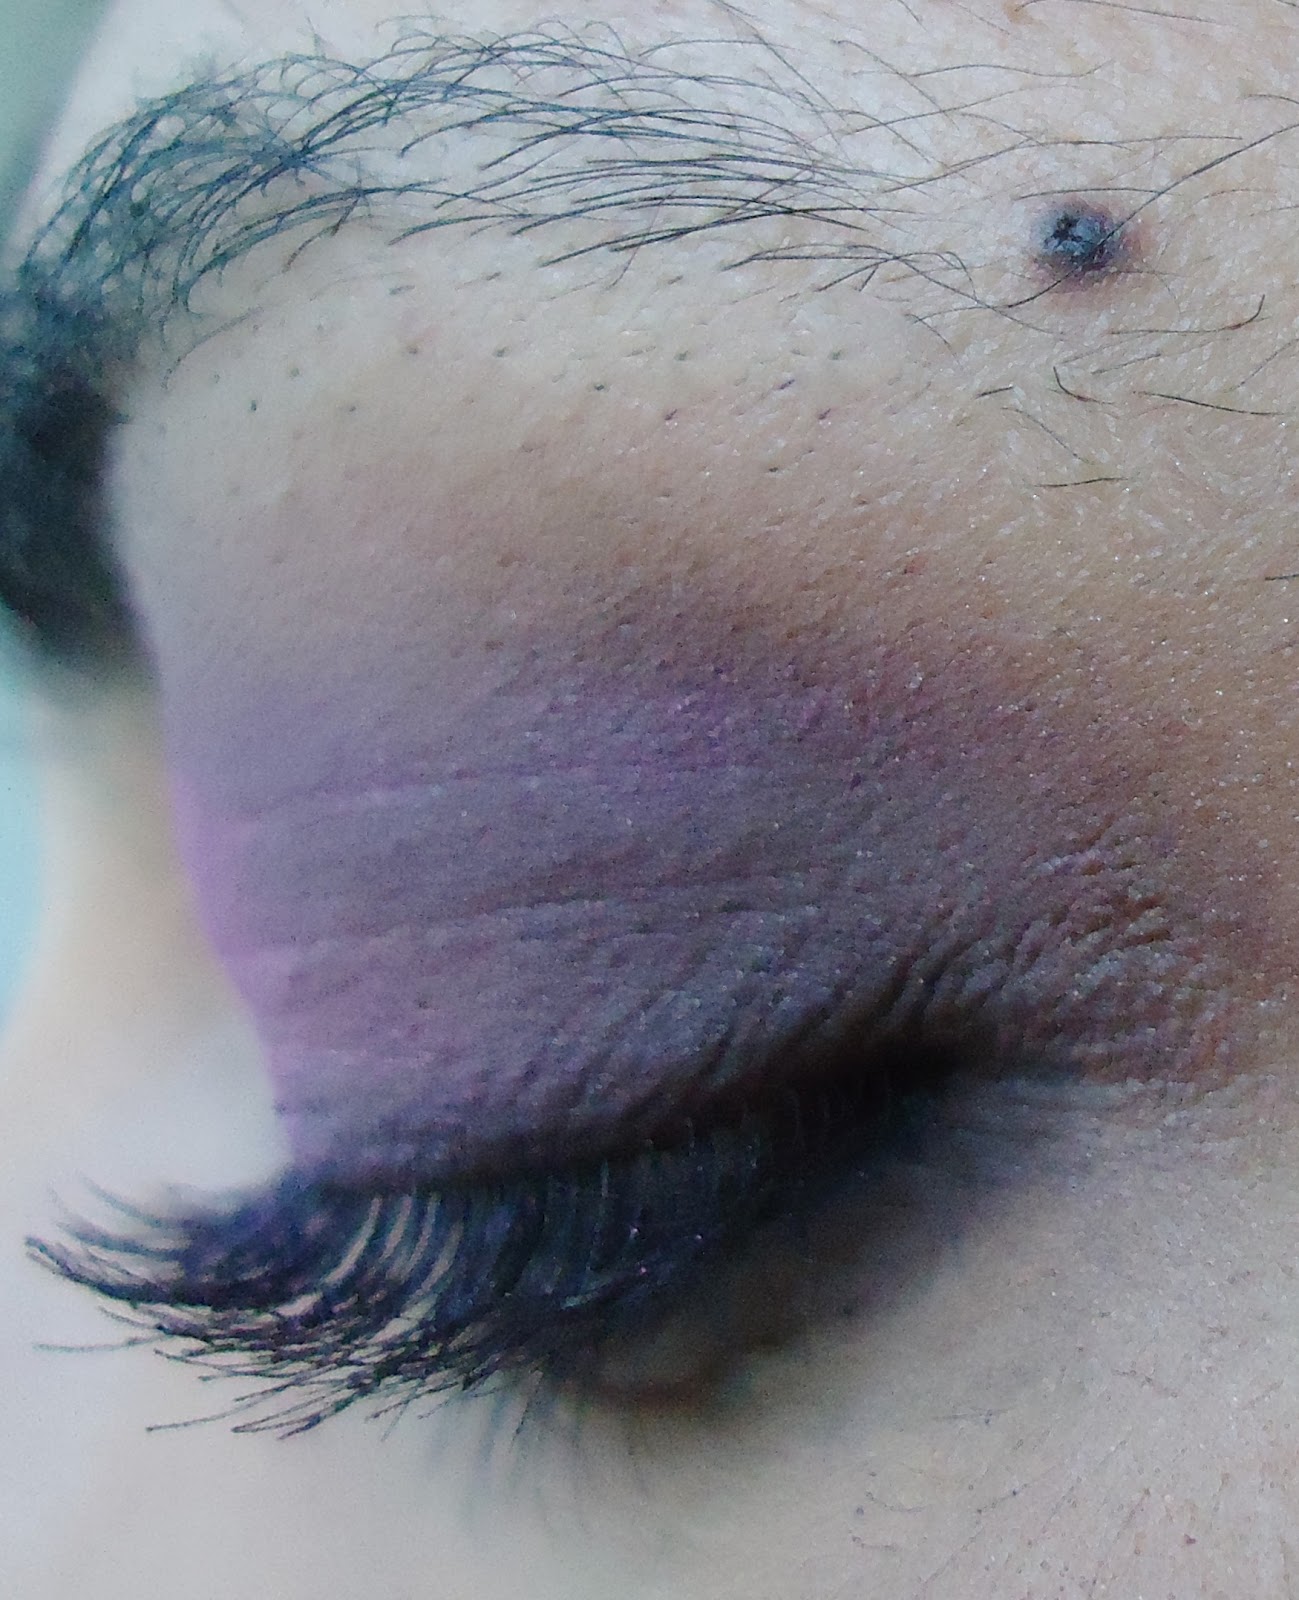
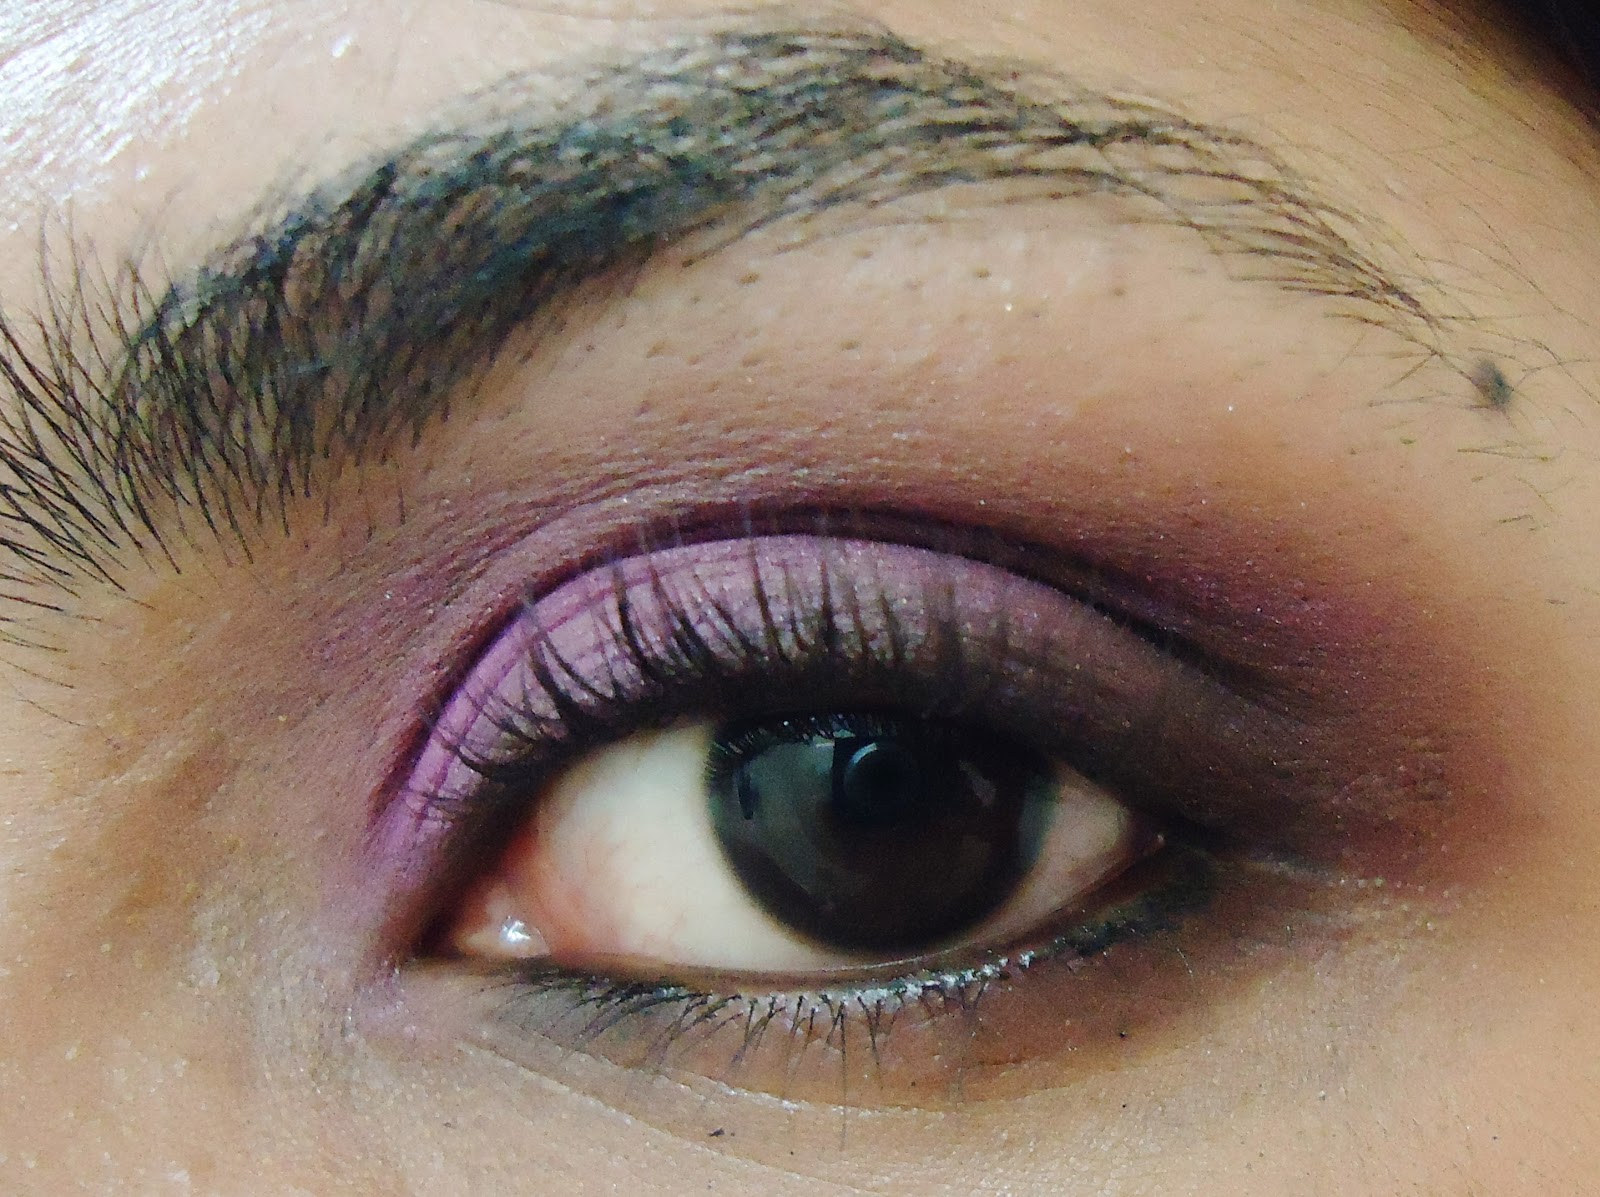
Showing posts with label Tutorial. Show all posts

Wednesday, August 29, 2012

Sexy Fall / Summer Look

Hi loves, 

Hope you all are doing great. Since i missed a few months i will be doing a couple of tutorials for you guys. So this look is inspired by fall leaves, and this would be perfect look for summer or fall. 

I will be using the coastal scents 88 palette. I hope you enjoy...


For The Eyes


1. Prime your lids to prevent creasing.


2. Apply a white pencil all over your lids, this would act as a base, and this would help the eye-shadow to go on vibrantly.


3. Then taking a flat shader brush take the color marked with a yellow circle and apply it in the inner corner.


4. Using the same flat shader brush apply the color marked with the white circle after the yellow color, make sure to stop in the middle.


5. Take the color marked with the orange circle and and apply it in the outer v.


6. Then taking a fluffy brush take the color marked with the green circle, and blend it on your crease.

7. Line the inner & upper lash line with a black pencil liner.

8. Add loads of mascara on to your top and bottom lashes

 
For the Lips
  

ok on to getting fun full summery lips, 

1. Apply a coral lipstick, i applied maybelline color sensational coral crush. 

2. Then on top of that i added, the color marked with white circle.

3. Then on the center i added the color marked with the yellow circle.

Apply your other make-up as usual. 


Products I used
 
Face
1. Revlon Color stay in toast
2. Mac Studio Fix Powder

Eyes
- coastal scents 88 palette

Lips
- Maybeline Lipstick in coral crush ( Review Here)

So what do you guys think of this weeks tutorial?  Let me know in the comments below what you think.. If you liked this post why not share it using the links below...

Until Next Time..


XoXo
Antique-Purple

Tuesday, June 19, 2012

Celebrity Inspired- Priyanka Chopra

Hi loves, 

                Hope you all are doing great. This week i will be doing a celebrity inspired look of priyanka chopra, which was on the cover of Vogue India released in dec 2011. I know that is a late issue but i loved the look and i couldn't resist recreating it. 


I love priyanka to bits, she is an amazing actress and has a wonderful personality. Her looks are always neutral, and almost looks as though she isn't wearing make up. But on the cover of vogue she is wearing a dark black and brown with a rosy nude lip. 


She looks amazing and i hope i could do this look justice. Hope you enjoy..


Image from bollyupdates

Image from jolieasie


1. Prime your lids to prevent creasing.


2. Take avon super shock pencil in chocolate melt all over your lids, this would help the matte eye-shadow stick better. 


3. Then taking a flat shader brush take the colours marked with a yellow circle and red circle and apply it on top of chocolate melt, and bring it slightly into your crease. Make sure to blend to avoid a harsh line. 


4. Then take blending brush and pick up the colour marked with a white circle and blend it in circular motions into the outer v and bring it into your crease. Make sure to blend to avoid a harsh line. 


5. keep adding colour to make the outer v deep and dark. 


6. Add a highlighter colour which is marked with the blue circle on to your brow bone.


7. Then take some Vaseline and add it on to the middle of your lids for shine.


8. Line the inner & upper lash line with a black pencil liner.


9. Then i used the colour marked with the yellow circle as a bronzer. 


10. Then for my lip colour i first applied Maybelline Colour Sensational Lipsticks in hooked on pink and then on top i added born with it.  


11. Curl your lashes and apply black mascara to top and bottom lashes.


12. Apply your other make-up as usual. 


Face
1. Mac Studio Fix Fluid
2. Mac Mineralized Concealer
3. Mac Studio Fix Powder

Eyes
- 88 palette

Lips
- Maybeline Lipstick in Born With It & Hooked On Pink ( Review Here)

So what do you guys think of this weeks tutorial?  Do you think i did the look justice. This was actually my first time using a bronzer and actually doing a celebrity look. Let me know in the comments below what you think.. If you liked this post why not share it with the links below...

Until Next Time..


XoXo

Antique-Purple

Wednesday, June 13, 2012

FOTD- Romantic & Flirty eyes

Hi loves, 


              Hope you all are doing great? For this weeks tutorial i am doing a romantic and flirty look. I created an easy tutorial using pinks and dark brown from the 88 pallet. I am not a huge fan of pink, so i tried to use it in a subtle way. Hope you enjoy..


1. Prime your lids to prevent creasing.


2. Apply Nyx Jumbo Pencil in Strawberry Milk all over your lids, this would help the shadow go on brighter. You can skip this step if you don't have the jumbo pencil.


3. Then taking a flat shader brush take the colours marked with a white circle and apply it on top of strawberry milk, and bring it slightly into your crease. Make sure to blend to avoid a harsh line. 


4. Then take blending brush and pick up the two colours marked with a yellow circle and blend it in circular motions into the outer v and bring it into your crease. Make sure to blend to avoid a harsh line. 


5. keep adding colour depending on how deep and dark you want the look to be


6. Taking a pencil brush apply the colour marked with a orange circle into your inner corner. Blend it out.


7. Add a highlighter colour which is marked with the orange circle on to your brow bone.


8. Line the inner lower & upper lash line with a black pencil liner.


9. Curl your lashes and apply black mascara to top and bottom lashes.


10. Apply your other make-up as usual. 


* Sorry about the pictures i was unable to take proper pictures since the sun was going down. I might take new pictures and re upload them soon.


Products I used


Face
1. Mac Studio Fix Fluid
2. Mac Mineralized Concealer
3. Mac Studio Fix Powder


Eyes
- 88 palette


Lips
- Maybeline Lipstick in Born With It ( Review Here)


So what do you guys think of this weeks tutorial?  Let me know in the comments below.. If you liked this post why not share it with the links below...


Until Next Time..


XoXo
Antique-Purple

Wednesday, May 30, 2012

Tutorial - Avon TRUE COLOUR look 2 ( Faded Purple)

Hi loves,


            Hope you all are doing great. So this is the second look using the Avon true colour quad in purple haze. If you want to check out the first look click here and if you want to check out the review of the quad click here 


So lets get started..


Below is the pallet i will be using. I have marked the colours i will be using.


1. Prime your lids to prevent creasing.

2. Taking a pencil brush apply the light purple colour which is marked with a orange box on to your inner corner. 

3. Then taking a flat shader brush take the lilac colour marked with the yellow box and pack it on to your lids.  Make sure to blend to avoid a harsh line.

4. Then take blending brush and pick up the dark purple colour marked with the blue box and blend it into the outer v and bring it into your crease. Make sure to blend to avoid a harsh line. 

5. keep adding colour depending on how deep and dark you want the look to be

6. Taking a pencil brush pick up the dark purple colour marked with the blue box and blend it into your lower lash line

7. Add a highlighter colour which is marked with the orange box on to your brow bone.

8. Line the inner lower & upper lash line with a black pencil liner.


9. Curl your lashes and apply black mascara to top and bottom lashes.

10. Apply your other make-up as usual.


Products I used

Face
1. Mac Studio Fix Fluid
2. Mac Mineralized Concealer
3. Mac Studio Fix Powder

Eyes
TRUE COLOUR Eye shadow Quad In Purple Haze

Lips
- Rimmel Lipstick in 082 Heavenly

So what do you guys think of this weeks tutorial?  Let me know in the comments below.. If you liked this post why not share it the links are below...

Until Next Time..


XOXO

Antique-Purple

Friday, May 25, 2012

Tutorial - Grey & Purple Smoke

Hi loves,


             Hope you all are doing great. I did a review on the Avon TRUE COLOUR Eye shadow Quad In Purple Haze , so i thought i would do a series of looks with this quad so this is the first look using grey, a lilac purple and a hint of dark purple. 


So lets get started..


Below is the pallet i will be using. I have marked the colours i will be using.


1. Prime your lids to prevent creasing.


2. Taking a flat shader brush apply the grey colour which is marked with a red box on to your lids. Make sure to blend to avoid a harsh line.


3. Then taking a blending brush take the colour marked with the blue box and blend it on to your crease, be sure to blend in the grey as well to get a gradient effect.


4. Then take a pencil brush and apply the dark purple which is marked with a yellow box on to your outer v and blend it into the grey and lilac 


5. Add a highlighter on your brow bone.

6. Line the inner lower & upper lash line with a black pencil liner.


7. Curl your lashes and apply black mascara to top and bottom lashes.

8. Apply your other make-up as usual.


For a night out add some silver or a blue grey glitter on to the grey eye shadow. 

Products I used

Face
1. Mac Studio Fix Fluid
2. Mac Mineralized Concealer
3. Mac Studio Fix Powder

Eyes
TRUE COLOUR Eye shadow Quad In Purple Haze

Lips
- Rimmel Lipstick in 082 Heavenly

So what do you guys think of this weeks tutorial?  Let me know in the comments below.. If you liked this post why not share it the links are below...

Until Next Time..


XOXO
Antique-Purple

Wednesday, May 16, 2012

Tutorial Wednesday - Ocean blue's & Green's

Hi loves, 


             Today i will be showing you how to do a simple blue & green look with a slight shimmer and a neutral lip. It's perfect for going out and about.. Enjoy


So lets get started..

1 -  Prime your eyelids to prevent your look from creasing.


2. Using a flat shader brush apply a matte green all over your lids & blend


3. Then using a fluffy brush/ or a blending brush apply a matte blue on you crease and blend well.


4. Then using a flat shader brush apply a shimmery green colour over the matte green


5. Then using a fluffy brush blend a shimmery blue into you crease


6. Add a white highlighter on your brow bone.


7 - Line the inner lower & upper lash line with a black pencil liner.

8 -  Curl your lashes and apply black mascara to top and bottom lashes. 
 

9 - Apply your other make-up as usual.


Elianto Eyeshadow From left to right Cornflower blue, Nile Green, Rich Blue


Products I used

Face
1. Mac Studio Fix Fluid
2. Mac Mineralized Concealer
3. Mac Studio Fix Powder

Eyes
- Elianto eye primer
- Green eye shadow
- Elianto eye shadow Rich Blue
- Elianto eye shadow Nile Green
- Elianto eye shadow Cornflower blue
- Avon super Enchant mascara

Lips
- Nyx round  lipstick in B52
- Elianto Lipgloss

So what do you guys think of this weeks tutorial?  Let me know in the comments below.. If you liked this post why not share it the links are below...

Until Next Time..

XoXo
Antique-purple

ShareThis

Related Posts Plugin for WordPress, Blogger...